

Your deck boards might look brand new, but what’s underneath could be quietly falling apart. Deck joists rot when moisture collects on top of the framing and never fully dries out. Once decay sets in, it doesn’t stop on its own. This is especially critical when repairing or replacing deck boards, because new composite or hardwood boards installed over failing joists will need to be removed again within a few years.
This guide covers everything you need to know about how to protect deck joists from rot, whether you’re building new deck, replacing boards, or extending the life of what you already have.
How to Protect Deck Joists From Rotting
The best way to protect deck joists from rot is to keep water from sitting on top of the framing.
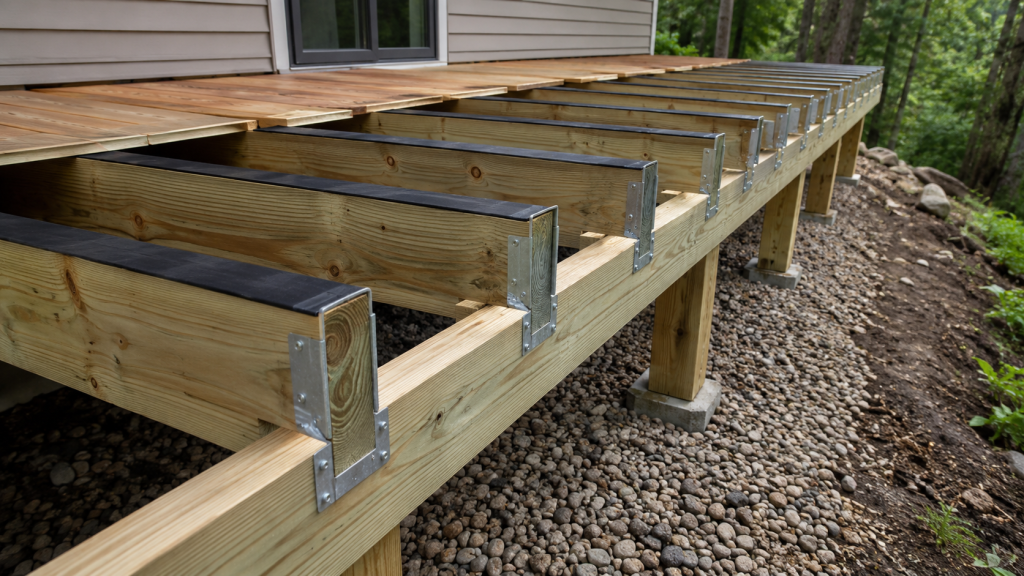
During the building phase, your defense starts by applying waterproof joist tape across the top of the framing to block moisture. You should also treat all fresh lumber cuts immediately with a liquid preservative to seal raw wood, and properly flash the ledger board where the deck meets your house.
Once the deck is built, transition into the maintenance phase by practicing three ongoing habits. Maintain clear airflow underneath the structure to prevent trapped humidity, regularly clean out packed leaves and debris from between the floorboards, and thoroughly inspect the joists every year to catch early signs of decay.
Keep reading for a detailed, step-by-step guide on how to execute each of these protective steps.
Why Deck Joists Rot
Joist rot develops when wood stays damp for extended periods without drying. Common causes include:
- Rain and snowmelt reaching joist tops through deck-board gaps
- Leaves and debris trapping moisture against the wood
- Poor airflow and shaded areas that slow drying
- Fastener holes and untreated cut ends that allow water penetration
- Failed ledger flashing where the deck attaches to the house
- Ground moisture beneath low-clearance decks
- Freeze-thaw cycles that drive water deeper into wood fibers
Wood-decaying fungi thrive when the moisture content remains above 18%. Once that level is consistently reached, decay can begin within weeks. In many cases, joists can be severely deteriorated even when the deck boards above still appear sound.
How to Protect New Deck Joists
If you’re building from scratch or replacing a deck, this is your window. Everything here is far easier to do now than to fix after the boards go down.
Use rated PT lumber
Not all pressure-treated lumber is the same. For joists, you need a minimum retention level of 0.40 PCF. The standard residential grade at 0.15 PCF simply isn’t built for sustained moisture exposure. Don’t downgrade here.
Apply joist tape
Run butyl-based flashing tape across the top of every joist, beam, and rim joist before a single board goes down. It creates a continuous waterproof membrane and self-seals around every fastener driven through it. Butyl holds its bond through heat and cold; asphalt-based tapes don’t.
Treat cut ends
Every fresh cut through treated lumber exposes raw, unprotected wood. Coat it immediately with a copper-based end-cut preservative before the piece is placed. It takes thirty seconds and adds years to the framing.
Use corrosion-resistant hardware
Standard metal corrodes fast against treated lumber. Use hot-dipped galvanized or stainless steel for every hanger, screw, and bolt in the frame. Corroded fastener holes are direct water entry points into the wood.
Space boards right
A consistent 1/4-inch gap between deck boards lets water drain and debris fall through rather than pack in. Tight boards trap everything directly on top of the framing.
Slope the frame
Install a 1/8-inch drop per foot, so water runs off the deck rather than sitting on it. A small slope makes a real difference over time.
Flash the ledger
Strip the siding, tape the house wrap, secure the ledger, then add flashing at the top edge to redirect water outward. Seal every fastener penetration. The ledger joint is where decks fail most often, and it deserves the most attention.
Design for airflow
Solid perimeter skirting looks finished, but traps humidity underneath. Use spaced boards or vent panels to keep air moving. A frame that breathes dries out. A sealed frame stays wet.
How to Protect Existing Deck Joists
The deck is already built, so your options are narrower. But the right maintenance habits still add years to the framing underneath.
Inspect from below
Get under the deck and look at what’s actually there. Check for dark staining, soft spots, fungal growth, and rusted hardware. Press a screwdriver firmly into anything suspicious; sound wood pushes back, rotting wood doesn’t. Do this at least once a year.
Clear debris regularly
Leaves and organic material packed between boards hold moisture against the joist tops for days at a time. That sustained dampness is exactly what decay needs to get started. Clear the gaps after every storm and thoroughly clean each spring and fall.
Open up ventilation
If solid skirting surrounds the deck, it may be trapping humidity underneath. Add vent openings, swap solid sections for spaced boards, or install louvered panels. Even modest airflow gives the framing a chance to dry out between rain events.
Fix water sources first
Check gutters, downspouts, and the ground slope around the deck perimeter. If water is consistently pooling under the deck, no amount of maintenance will keep the framing dry. Fixing a drainage problem upstream is always cheaper than replacing joists downstream.
Don’t seal the underside
Coating the bottom of joists seems like a logical fix; it isn’t. Film-forming sealers trap existing moisture in the wood and block the natural vapor exchange that allows lumber to dry out. If you’re treating exposed joists, use a penetrating borate-based solution instead.
Can You Add Joist Tape to an Existing Deck?
Not without removing the deck boards first. Joist tape protects the top surface of the joist, the area that collects the most standing water, so it needs to be installed before boards go down. If you’re resurfacing, replacing boards, or making any repair that exposes the framing, that’s your window. Add tape to every joist, beam, and rim joist before anything goes back down. Don’t miss the opportunity.
How to Stop Wood Rot on Deck That Has Already Started
You cannot seal over rotten framing and call it fixed. Surface-level discoloration caught early can sometimes be cleaned, dried, and treated with a borate-based wood preservative – boric acid solutions are affordable and effective at halting early fungal growth. But soft, spongy, or structurally weakened joists have lost their load-bearing capacity. They need to be removed and replaced, not patched or painted over.
When replacing rotted joists, cover the new framing with butyl joist tape before reinstalling decking. If you skip it this time, you’re setting up the same problem again in another decade.
Signs Your Deck Joists Are Already Rotting
Don’t wait for visible collapse. Watch for these warning signs during your annual inspection:
- Soft or spongy feel underfoot when walking on the deck
- Dark staining or discoloration on joist surfaces
- White, gray, or greenish fungal growth on wood
- Musty smell when you get underneath
- Rusty joist hangers or fasteners
- Deck boards that bounce or flex with foot traffic
- Screws popping up through board surfaces – a sign that joists can no longer grip fasteners, and one of the most telling field indicators
- Sagging or uneven sections
- Joists that crumble or compress when probed
- Wobbly railings or stairs connected to weakened framing
Mistakes That Make Joist Rot Worse
Avoid these common and costly errors:
- Overlaying new composite decking – Putting long-lasting composite over rotting joists forces premature, costly tear-outs.
- Ignoring packed debris – Leaving organic material in board gaps acts as a continuous rot accelerant.
- Using non-rated fasteners – Indoor or uncoated hardware corrodes rapidly, creating direct water entry channels.
- Blocking under-deck airflow – Installing solid perimeter skirting traps high humidity and prevents necessary wood drying.
- Skipping cut-end treatment – Leaving fresh lumber cuts unsealed exposes unprotected raw wood to moisture.
- Assuming PT wood is rot-proof – Pressure-treated lumber is only rot-resistant; bad installation habits drastically shorten its lifespan.
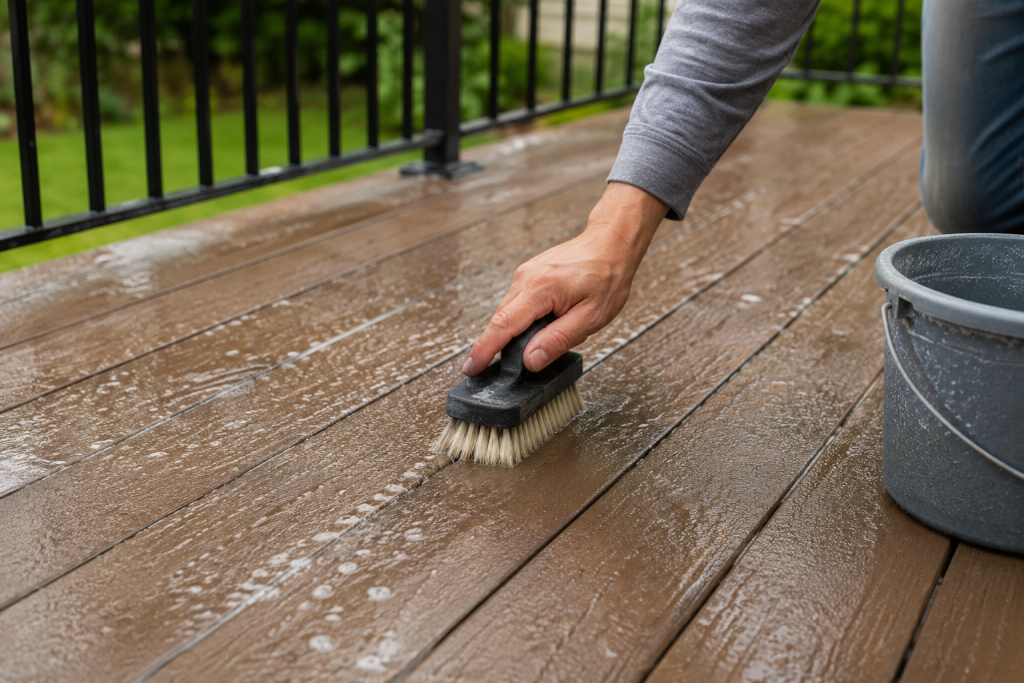
- Aggressive pressure washing – Forcing water deep into wood fibers right before covering it traps destructive moisture.
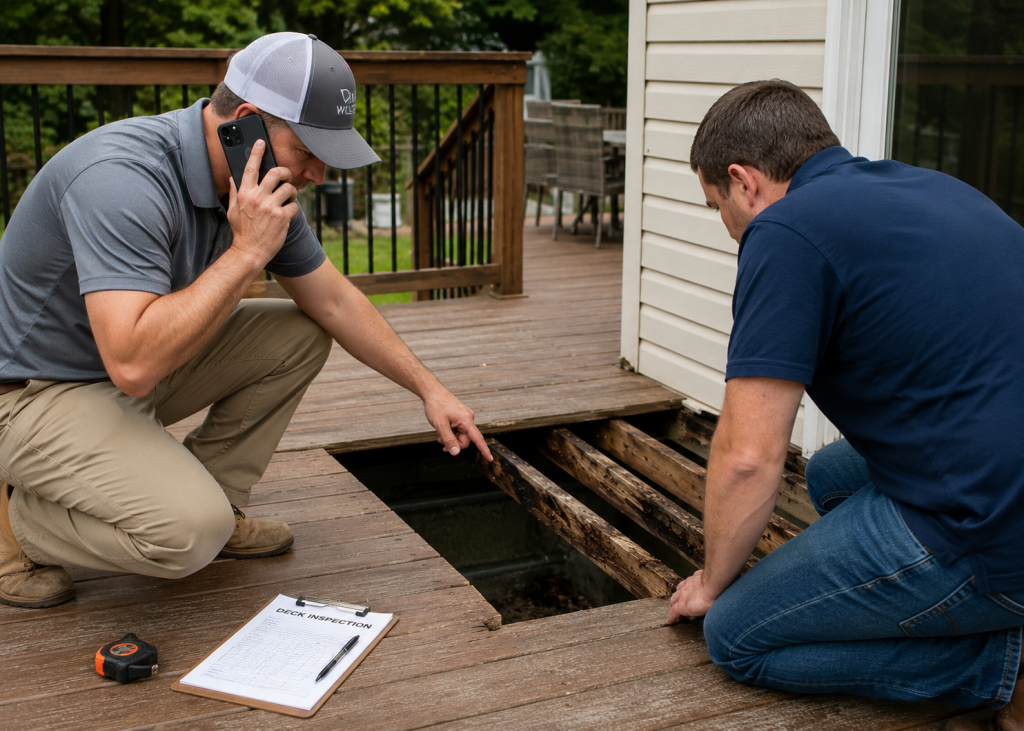
When to Call a Deck Contractor
Some situations call for a professional assessment rather than a DIY inspection:
- Joists feel soft or compressed when probed
- The deck has noticeable bounce or movement underfoot
- The ledger board shows any sign of rot, separation, or movement
- Hardware is visibly corroding at multiple points
- You’re replacing deck boards and aren’t confident about what’s underneath
- The deck sits low to the ground with limited ventilation
- Rot is present near stairs, posts, or railing connections – structural failure at these points is a safety issue, not just a repair issue
A qualified contractor can assess whether joists can be sistered (reinforced alongside existing members) or whether the full substructure requires replacement.
Conclusion
Protecting deck joists from rot isn’t complicated, but it does require doing the right things before the boards go down, not after. The framing underneath a deck takes the most punishment and gets the least attention. That gap is where most deck failures quietly begin.
Learning how to protect deck joists from rot comes down to using the right materials, proper tape, and a little maintenance discipline. With these habits, a well-built substructure can last decades without issue. Whether you’re starting a new build or replacing old boards, now is the time to get it right. The cost of prevention is always smaller than the cost of replacement, and a deck worth building is worth protecting.